The Gloss-It EVO Quartz Ceramic Coating line was developed and released over 15 years ago by Founder/CEO Rich Light. After many years of intensive R&D he launched the brand at SEMA Show 2007. Over the years we have perfected our formulas to be THE MOST user friendly ceramic coating on the market.
Our EVO 5H & 7H Ceramic Coatings are aimed at D.I.Y detailers and anyone passionate about making their vehicle look tip top without breaking the bank! The EVO Ceramic Coatings are extremely durable and provide the highest level of gloss. Do remember, prep is 95% of an amazing result so make sure your Prep Game is on point!
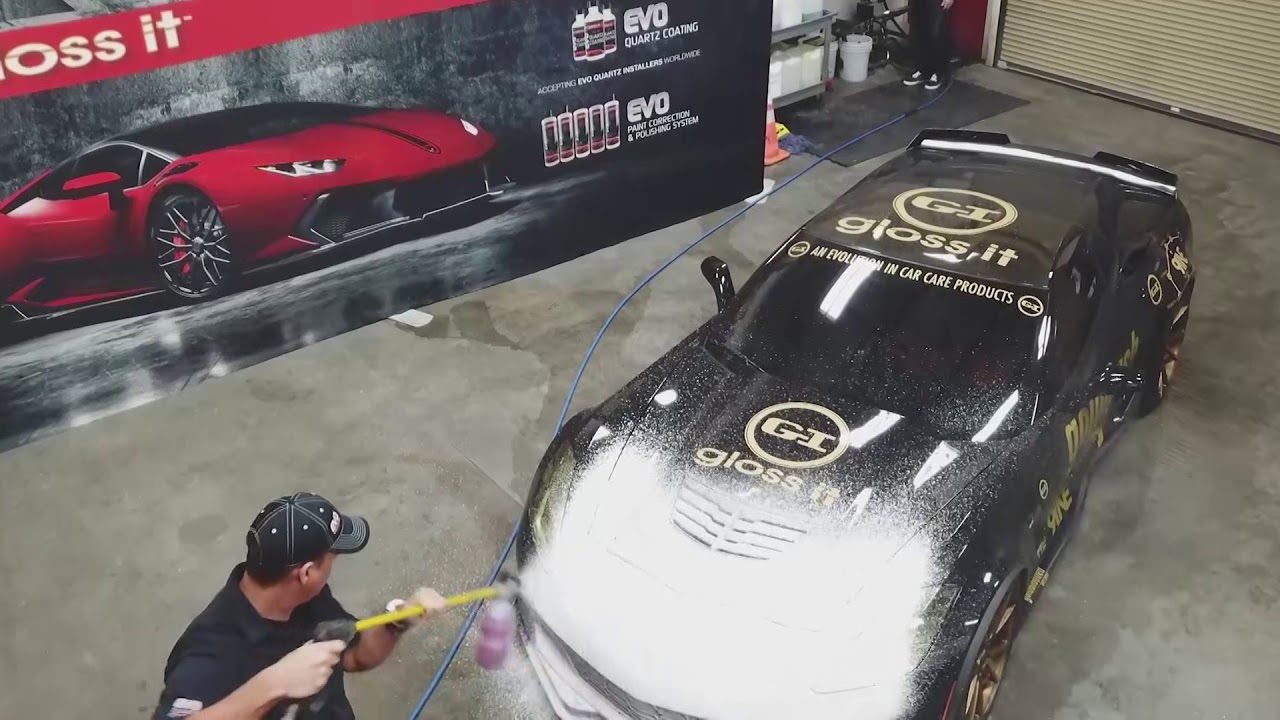
Step 1 : Decontaminate the paint surfaces; first, wash process with gloss shampoo and EVO foam Cannon or Foam Gun. Allow foam to sit on paint surface for 3 to 5 mins helping any contamination breakdown & reducing potential scratching in the clay bar process.
Step 2 : Rinse vehicle with clean filtered water. Remove foam, then, repeat process, foaming car once again to start clay bar process. Clay bar section by section, ensuring a smooth paint finish and removing any mental particles, road tar, bug splatter or road contamination before the paint prep polishing can begin.
Step 3 : Now the vehicle is ready for prep paint polishing. Before ceramic coating your vehicle it is important to do a vehicle inspection of the common paint problems; i.e swirl marks, scratches, hard water spot etching, towel marks and micro marring caused from, the elements, improper washing, and bad towels.
Step 4 : We recommend to prep polish the painted surfaces indoors or well shaded areas. The paint finish must be cool to the touch not warm or hot. We also recommend you find some LED lights at home depot or online to provide proper lighting & to view/remove all the paint imperfections. Super Important. If you cant see it you cant fix it.
Step 5 : The PREP is the most important and essential step before ceramic coating. This is 95% percent of an amazing ceramic coating finish. Here are a few “before & after” examples of what we call in the professional detail world, 50/50 shots. As you can see from one side to the other, the paint finish is free of any common swirl marks or car wash scratches. To accomplish this you must find the right pad and product combination that is right for the level of paint correction you are trying to accomplish. We highly recommend you machine polish with one of our safe to use DA long stroke polishers. Our EVO series of DA machine polishers are game changing ( Evo 21, 15, 12.5 and 12 ). Please visit our other online videos for machine polishing and different combos showing from most aggressive to least aggressive on “How to polish like a PRO” youtube.com/glossit
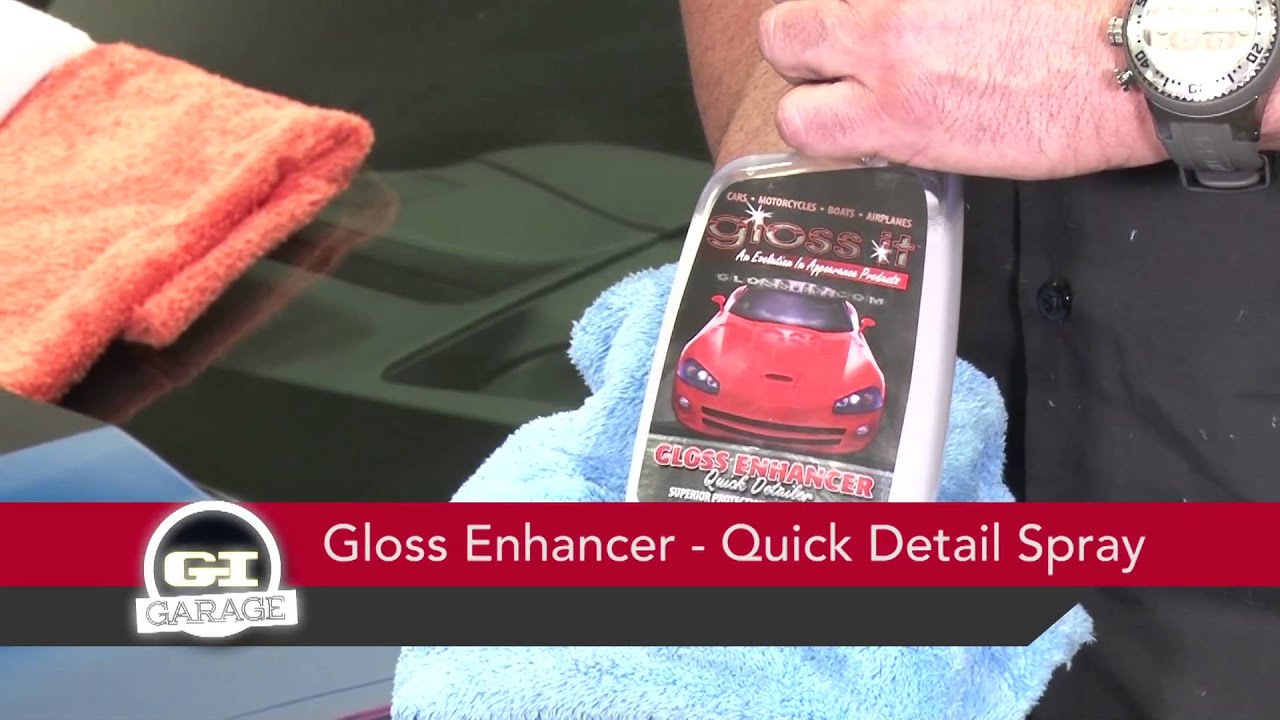
Step 6 : We have now properly prepped & polished the vehicle and are ready for applying the ceramic coating. It is important to once again check the paint finish for any imperfections. Also use a prep solution to clean the finish which can consist of using our gloss enhancer quick detailer or “60% rubbing alcohol and 40% distilled water as a prep solution to remove any residual polishing oils or grease. This ensures a proper bond of the ceramic coating. Always make sure you have 6-8 80/20 blend micro-fiber towels for removing the each layer of ceramic coating applied with our suede micro-fiber blocks.
Step 7 : Now it’s time to apply the ceramic coating! This is an exciting step and when applied correctly will produce a candy like shell that has incredible appearance, color enhancement and GLOSS. Start by checking your suede applicator block for any contaminants. Apply a solid line of Evo 5H or 7H to the center of the applicator (approx 4 to 6 fine drops). Work on a half-panel at a time, lightly dragging the applicator across the paint in overlapping lines until you have full coverage and then once more in the opposite direction. We refer to this process as “Crosshatching”.
Step 8 : Let the coating sit on the paint until it turns from clear to lightly hazy, an almost “milky appearance” (2-3 Minutes Depending on Climate, Temp, & Humidity). We recommend working one section or panel at one time. DO NOT apply to whole car then remove then will result in great difficulty to level and remove. This is not a wax or polish, it is a high solid glass resin that goes from liquid to a solid glass state!!
Once the entire cars’ surface has been coated we recommend you repeat steps 7-8 to apply at least one more coat to make 2 total, and up to 3 coats. But no more than 4 coats!
Step 10 : Use your lights, detail spray, and a dry microfiber towel to perform a final check. Remove any streaking or hazing that may be left behind. We also recommend pulling into direct Sun Light to inspect under natural light for any residual high or low spots that may still appear. Congrats on applying your first ceramic coating!!
https://gloss-it.com/collections/cera…
Watch On
More Content Like This
Virtual Training
Our Virtual Training platform takes out all the guess work. Learn the critical components in scaling your business through interactive training sessions never before seen in the industry.
View CoursesLive Bootcamp & Certification
Our live training is available for those entrepreneurs who are serious about taking their business to the next level by becoming EVO Pro Ceramic Certified.
Learn More